
ComfyUI-TrixNodes
An elegant, premium, remote bypass and wire-management nodes suite for ComfyUI.
Nodes (5)
ND Super LoRA Loader
The remote control deck for your whole workflow's switches
The no-frills bypasser when you just want a few switches
Eleven ways to steal a palette, one of which you'll actually use
A prompt node with a style gallery, a translator, and opinions about your negative prompt
ComfyUI-TrixNodes


An elegant, premium, high-performance workflow management node suite for ComfyUI. Organize complex workflows, remotely bypass or mute nodes and groups, navigate instantly across your canvas, and declutter connection wires with beautiful, GPU-optimized animations.
📌 Table of Contents
- 🌟 Core Features
- 📦 Nodes Overview
- 🎥 Visual Demonstration
- 🔌 Wire Management & Hidden Links (WLinks)
- ⚙️ Global Settings
- ⚖️ Comparison & Pros
- 🛠️ Installation
🌟 Core Features
- Unified Control Cards: Remotely toggle bypass/mute states for nodes and groups.
- Instant Canvas Navigation: Click the
👁eye button to immediately center your screen on the target nodes. - Hidden Connection Wires (WLinks): Hide connection wires via right-click to declutter the canvas. They reappear dynamically on hover or click with glowing particle animations.
- GPU Performance Switch: Toggle between energy-saving (15 FPS) and high-performance native refresh rate (60+ FPS) animations.
📦 Nodes Overview
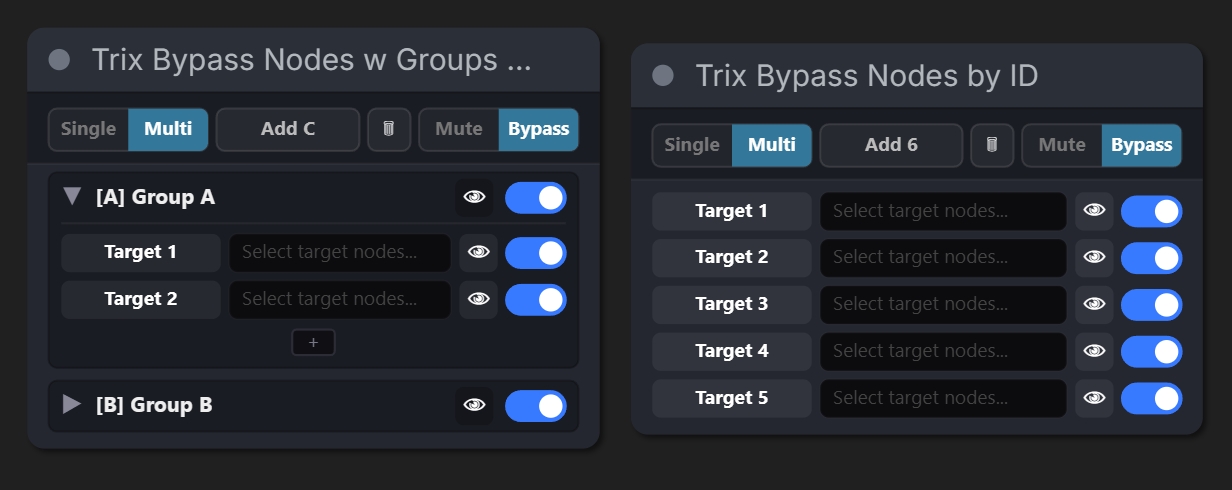
1. Visual Representation of the Nodes
The package includes two main bypasser nodes: 🌊Bypass Nodes w Groups by ID (with group grouping and collapsible decks) and 🌊Bypass Nodes by ID (streamlined linear list).
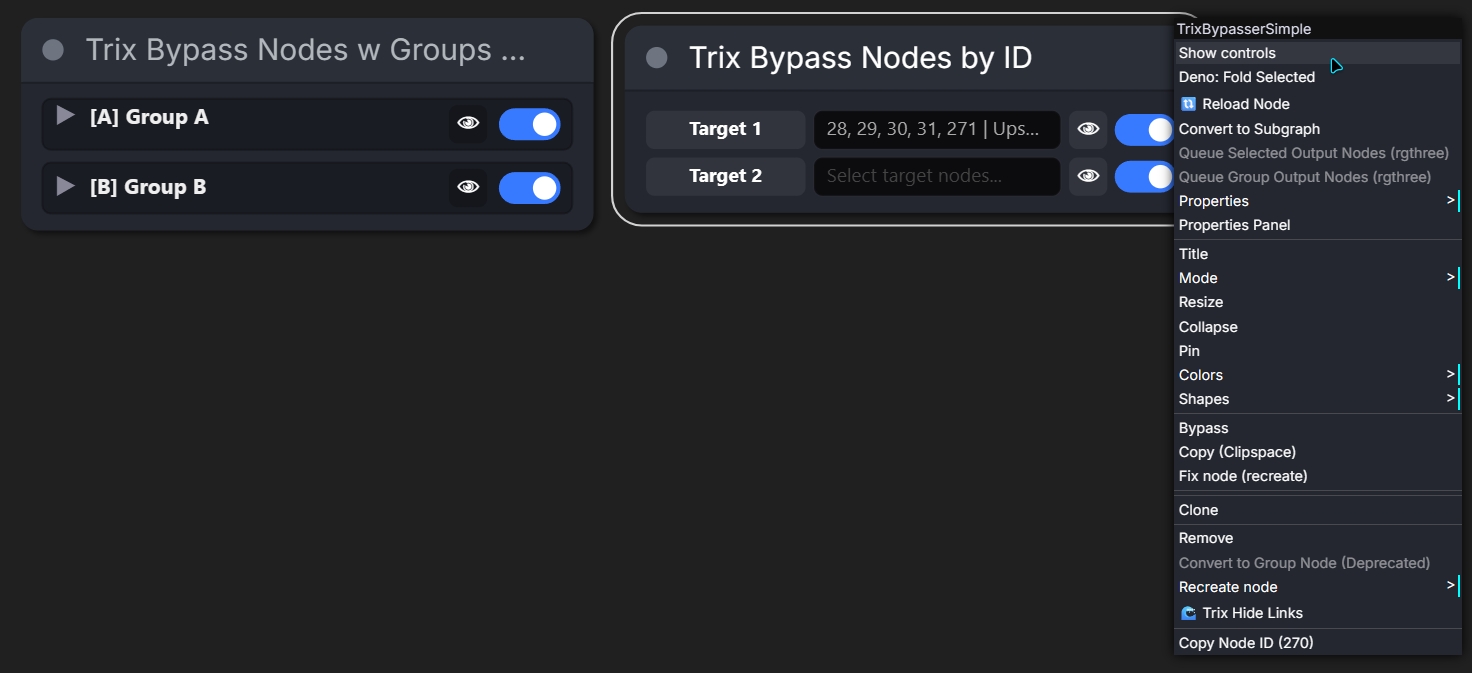
2. Collapsible Layout (Show/Hide Controls)
You can toggle showing or hiding control buttons directly on the node layout to make the visual interface simpler and cleaner.
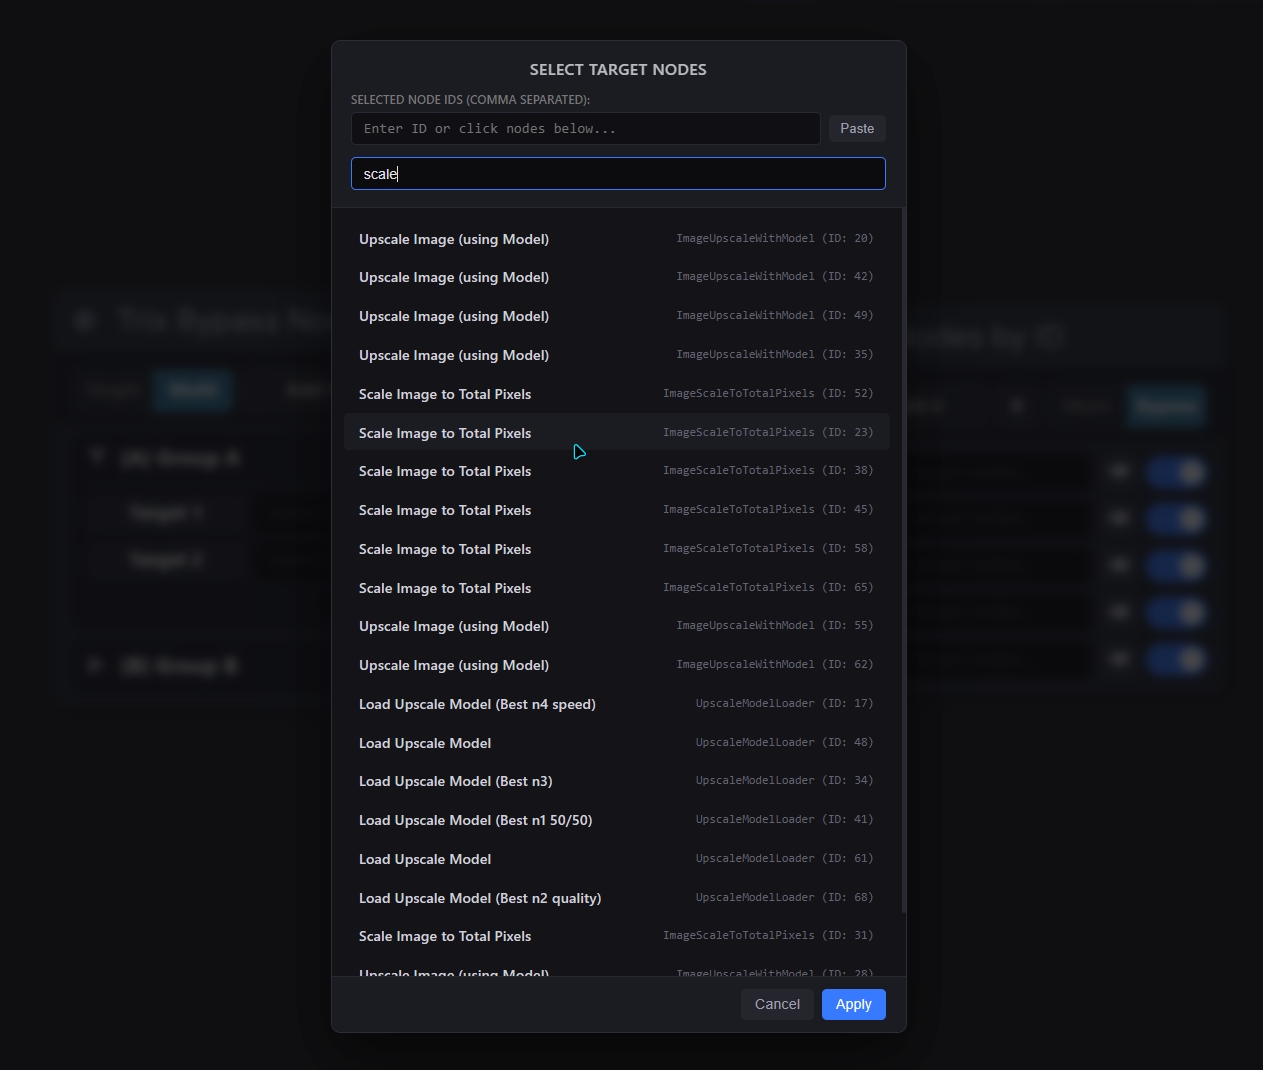
3. Add Targets Submenu
Double-click or click Add C to open the custom submenu popup where you can easily search and pick nodes to target.
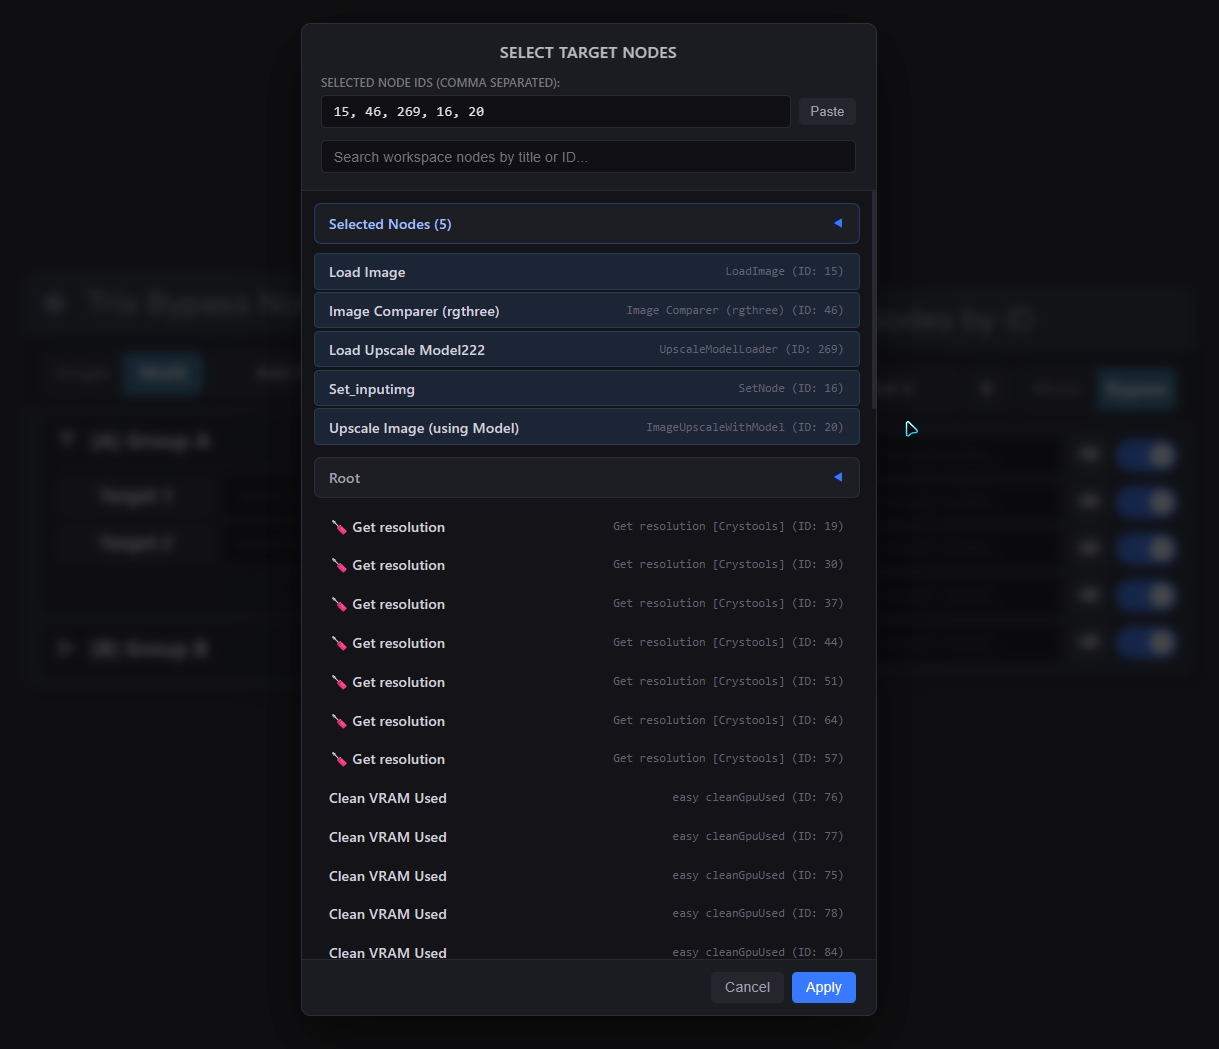
4. Configured Targets and IDs
Once targets are added, they are listed inside the picker submenu with their corresponding names and IDs.
5. Smart Connection Recovery
If a target node's ID is lost or disconnected, the node displays a smart warning indicator (⚠️). Clicking it opens a recovery modal to easily repair the connection.

🎥 Visual Demonstration
Below are interactive video walkthroughs showing the nodes and animations in real-world application:
Remote Control & Navigation Walkthrough:
https://github.com/user-attachments/assets/94c87505-834d-490c-9dd2-0dbb3939eab4
Animated Connections & WLinks Walkthrough:
https://github.com/user-attachments/assets/d48afabc-fd94-458b-841e-f1e1efa07974
🔌 Wire Management & Hidden Links (WLinks)
WLinks lets you selectively clean up wire spaghetti by hiding connections, rendering them dynamically with animations when you interact with the nodes.
1. Animated Invisible Links
Once connections are hidden via right-click 🌊 Trix Hide Links, they render with smooth glowing particle flows on hover or selection.
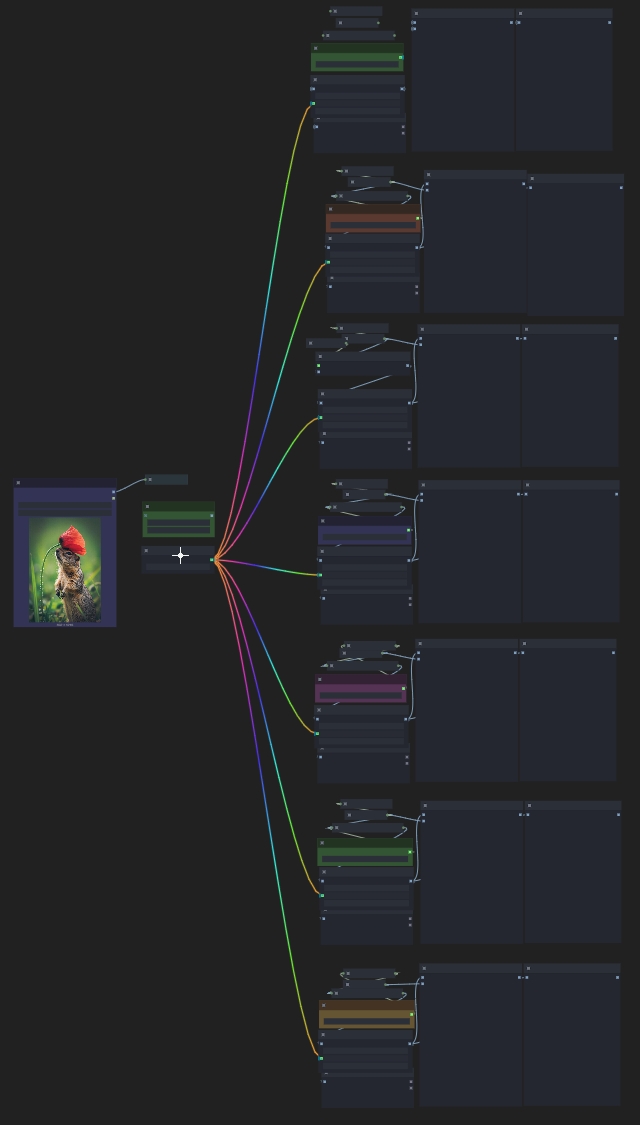
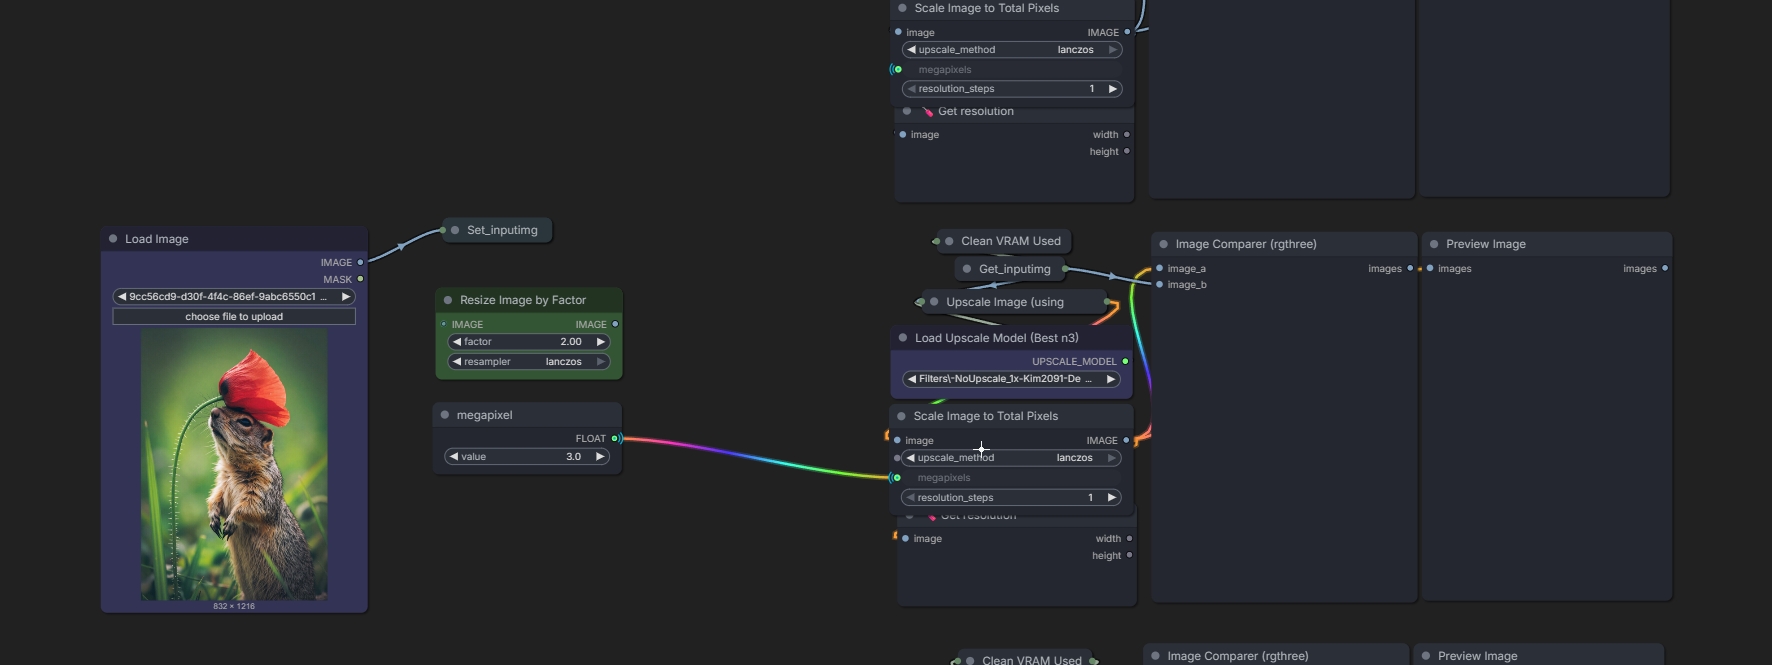
2. Close-up View of Glowing Wires
A close-up view showing the animated particles, custom slot indicator shapes, and slot colors.
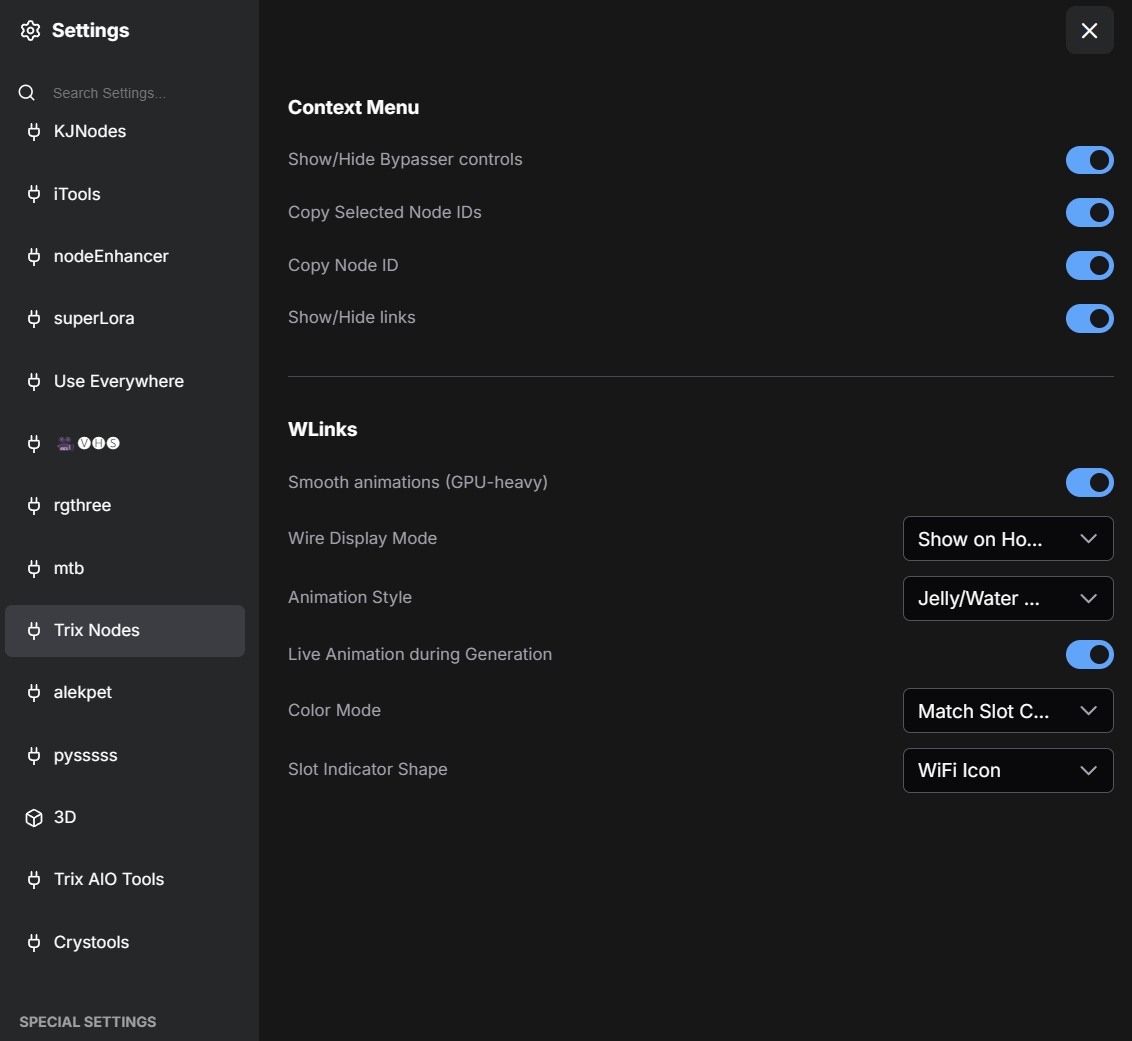
⚙️ Global Settings
Configure your preferences globally in the ComfyUI Settings panel under the Trix Nodes tab. You can customize slot indicator shapes, neon color schemes, animation styles, display modes, FPS throttling limits, or toggle context menu right-click options.
⚖️ Comparison & Pros
- Clean Canvas: Replaces the standard ComfyUI spaghetti wires with responsive, on-demand visual links.
- Instant Focus: Centering nodes with the eye button is much faster than manually searching through massive workflows.
- Flexible Muting: Toggle individual nodes, single groups, or multiple groups from a single node placed anywhere.
🛠️ Installation
Option 1: Via ComfyUI Manager (Recommended)
- Open the ComfyUI Manager in your ComfyUI interface.
- Click on Custom Nodes Manager.
- Search for
ComfyUI-TrixNodes(or search by publishertrix7111). - Click Install.
- Restart ComfyUI.
Option 2: Manual Installation (Git Clone)
- Open your terminal in the custom nodes directory:
cd ComfyUI/custom_nodes/ - Clone this repository:
git clone https://github.com/pixaroma/ComfyUI-TrixNodes.git - Restart ComfyUI and refresh the page.