
ComfyUI Notebook
A Jupyter-style custom node for executing Python code within ComfyUI workflows. Features syntax highlighting, shared variables between cells, and pre-loaded libraries (numpy, torch, PIL, matplotlib).
Nodes (3)
Notebook - Python Exec Node for ComfyUI
A Jupyter-style custom node for executing Python code within ComfyUI workflows.
📢 Safety First
This custom node is intended for power users and programmers ONLY.
This node explicitly allows execution of Python code within ComfyUI workflows. While the code execution is transparent and safe when you understand what code you are running, there are important security considerations:
- [ComfyUI is not a sandbox environment] - The security risk depends entirely on the permissions you grant to the ComfyUI process. Code executed through this node runs with the same privileges as your ComfyUI instance.
- [Treat downloaded workflows as Python source files] - If you download and execute workflows from untrusted sources, you could inadvertently run harmful Python code that could damage your system, access your files, or compromise your security.
✨ Features
- Syntax highlighting with Monaco Editor (similar to VSCode)
- Shared variables between cells via
globalsdictionary - Pre-loaded: numpy, torch, PIL, matplotlib
- Plot generation and dynamic outputs
📦 Installation
Install ComfyUI.
Clone ComfyUI-Notebook (this repo) to ComfyUI/custom_nodes/ and restart ComfyUI.
Usage Examples
Basic execution:
print(1 + 1)
Plotting:
plt.figure(figsize=[8,5])
x = torch.randn([2,10])
plt.scatter(x[0], x[1])
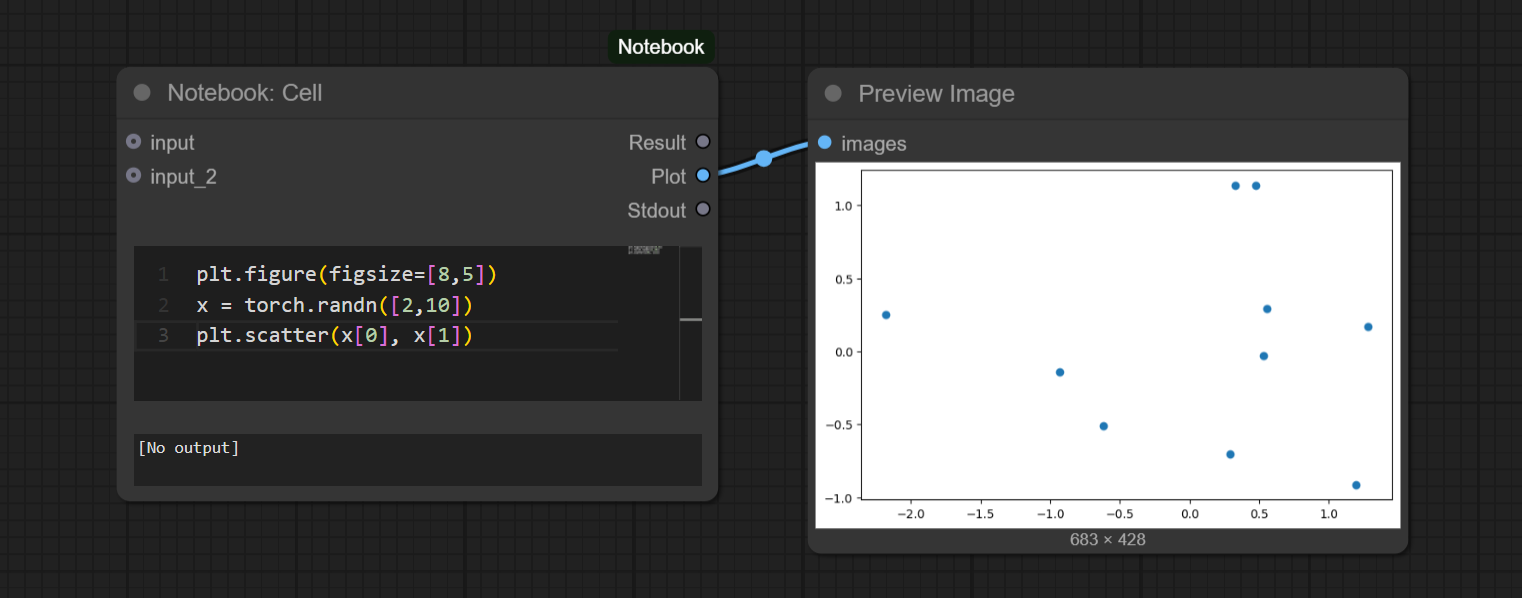
Sharing Data Between Cells:
# Cell 1
x = np.linspace(0, 10, 100)

# Cell 2
plt.figure(figsize=[5,6])
plt.plot(x, np.sin(x))
plt.title("Sine")
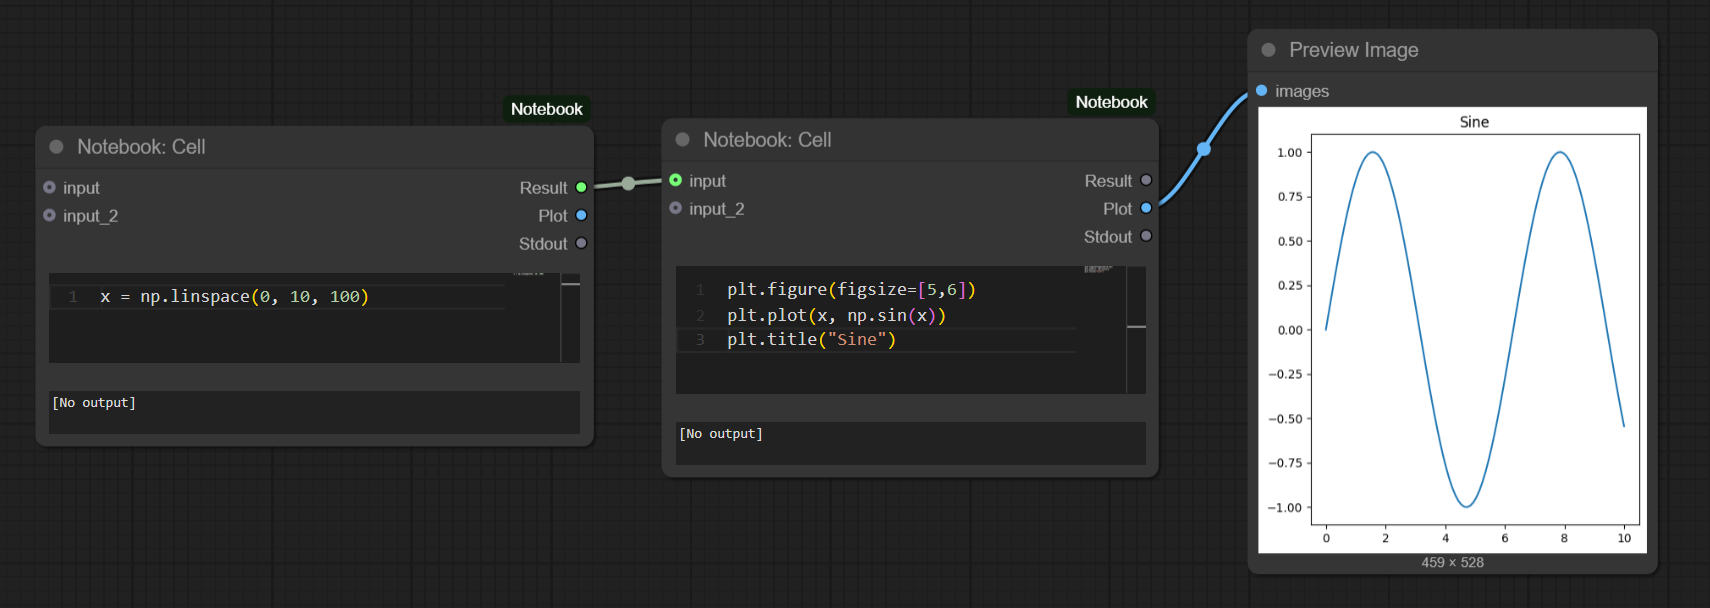
Passing Results:
# Cell 1
x = "Hello, results!"
y = 2
Result = x, y

# Cell 2
x, _ = input
print(x)
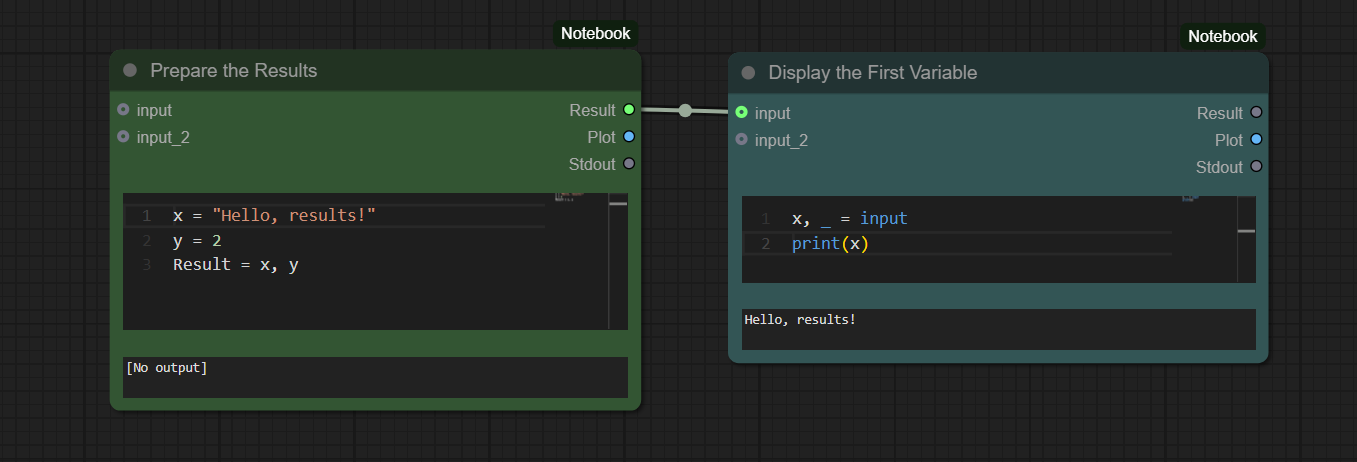
Output/Preview HTML:
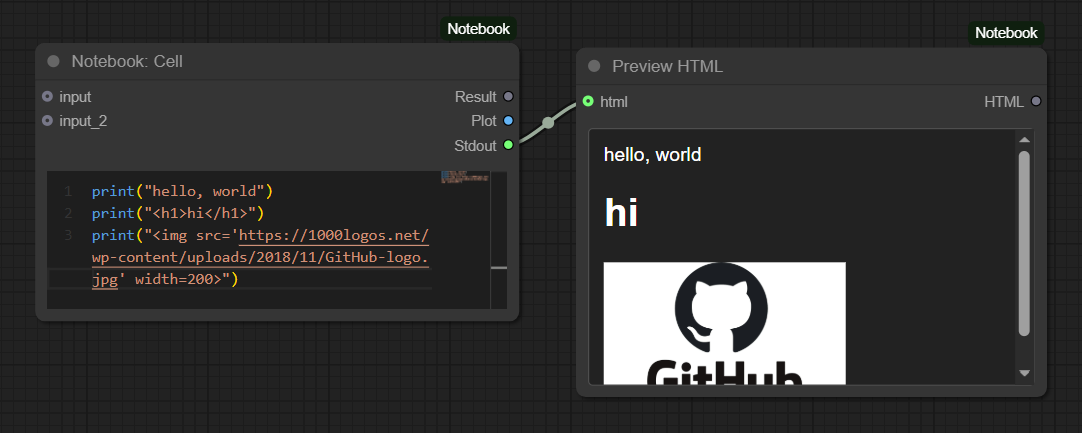
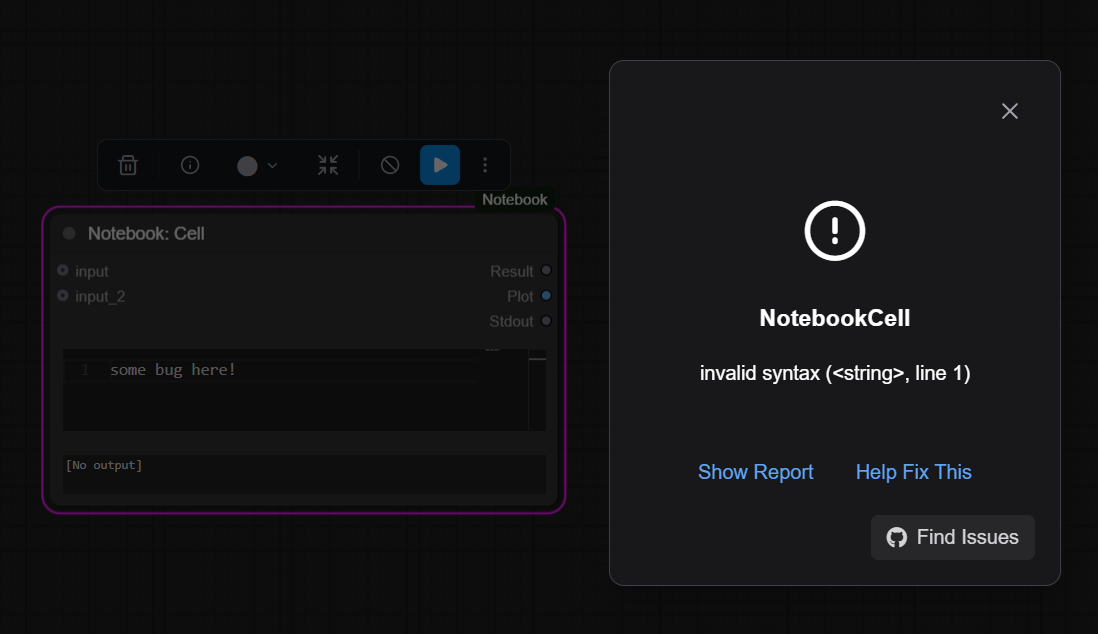
Highlighted the Problematic Cell:
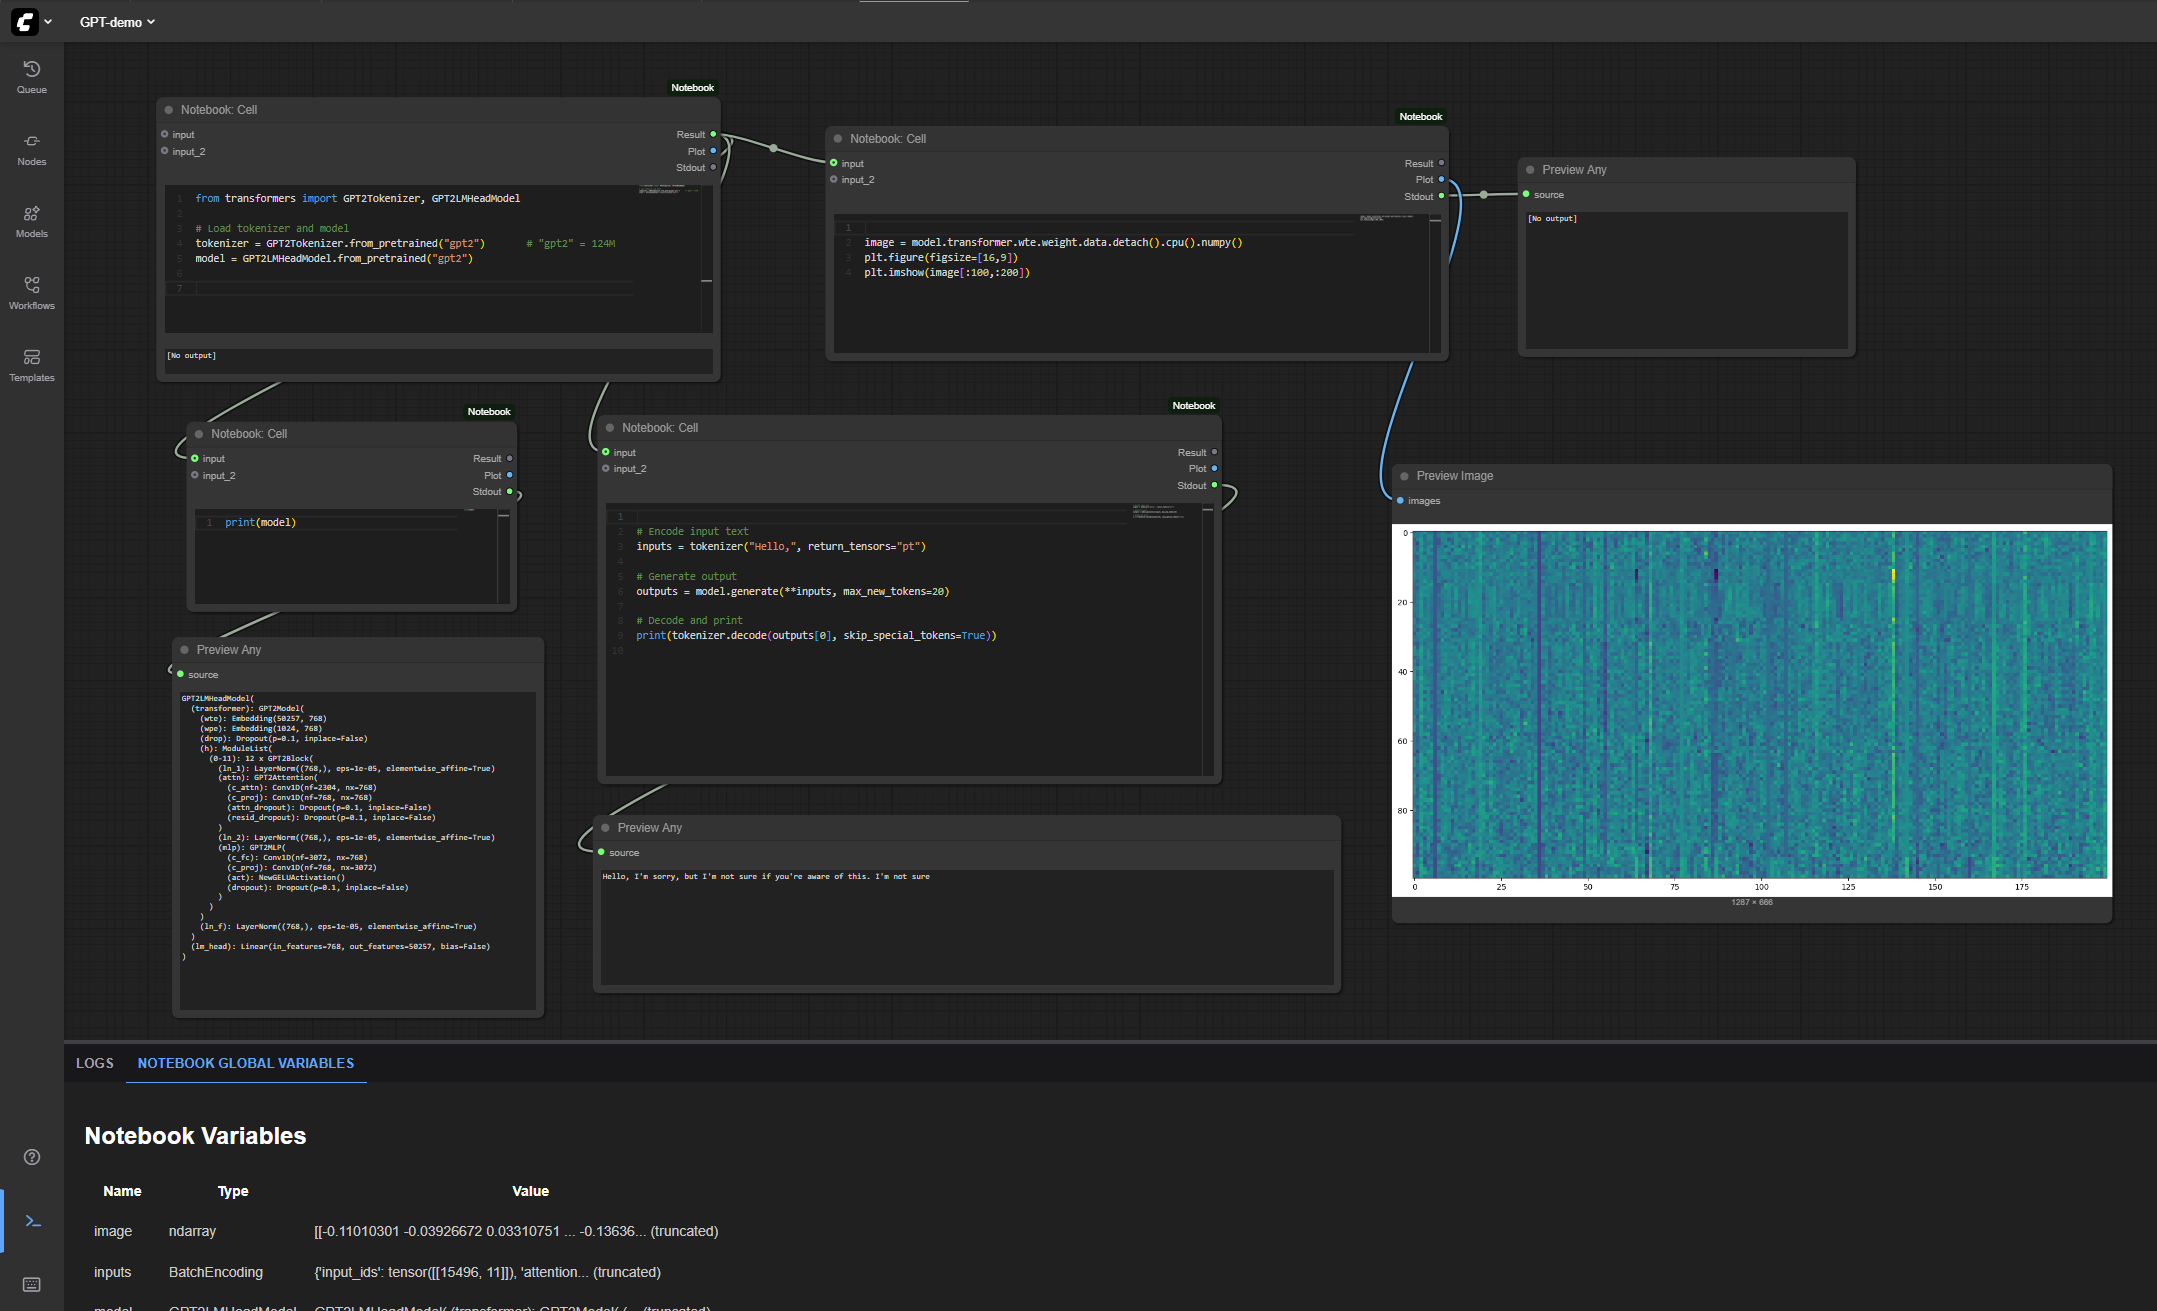
Investigating GPT-2's Weights:
Available Variables
np,torch,Image,plt- Common libraries pre-loaded
License
MIT License