
ComfyUI In-N-Out Bucket
Store and load ComfyUI media (image / audio / video) in an S3-compatible bucket, passing keys instead of asset bytes — built for using ComfyUI as an API across distributed installs. Great for building applications off of ComfyUI. Configure your bucket connection — copy .env.example to .env and fill it in.
Nodes (17)
Unpack your audio manifest with Batch Audio Metadata
Turn a bucket manifest into wires you can use
FPS, frame count, duration — Batch Video Metadata spills your video manifest out
Input Audio Bucket swaps the input folder for a key
Input Image Bucket
Input Video Bucket
Browse your audio assets instead of memorizing keys
Load Image From Bucket
The dropdown picker for your S3 video library
VHS-style frame controls on your S3 clips
Save audio to S3 and get a key back
Output Image Bucket
Push a generated clip to S3, keep a key
The node that does transparent video with audio
Label your clips so the bucket stops being anonymous
Annotate bucket assets without rewriting pixels
Make your rendered clips findable by more than a UUID
ComfyUI In-N-Out Bucket
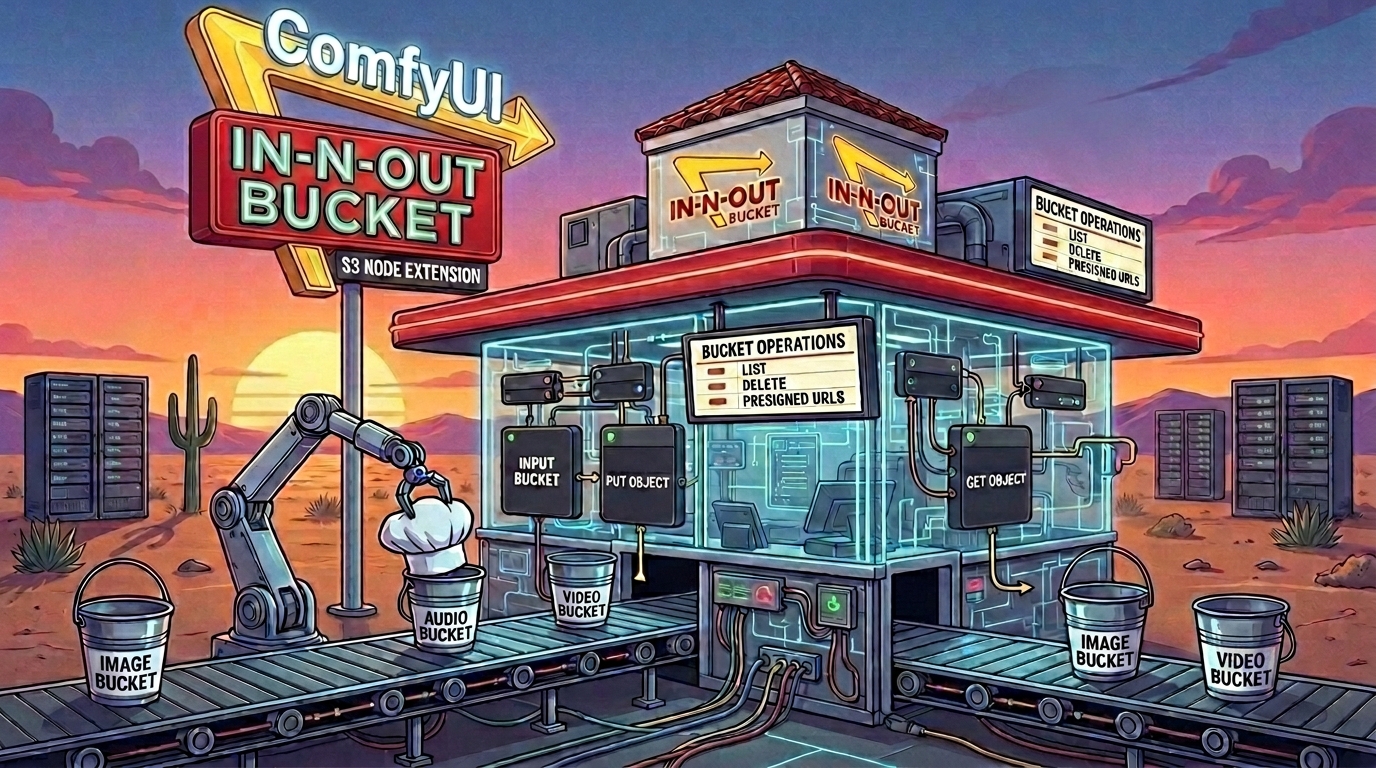
Store and load ComfyUI media — images, audio, and video — in an S3-compatible bucket, and pass around short keys instead of the asset bytes.
Because a workflow only carries the key, the same asset can be referenced from any machine that can reach the bucket — your laptop, a Tailscale-linked desktop, a cloud GPU, or a render farm. Point them all at one bucket (a local RustFS instance, or AWS S3) and assets flow between them without copying files around or stuffing them into the workflow JSON.
Every asset also gets a small sidecar manifest (<key>.json) describing it — format,
dimensions, duration, plus optional description / tags / source — so the bucket stays
self-describing and a database index can be rebuilt from it at any time.
What this is (and isn't)
This is not a general-purpose S3 browser or backup tool. It is purpose-built for one problem: using ComfyUI as an API that exchanges media assets — optionally across many distributed ComfyUI installations. When you drive ComfyUI programmatically, shuttling image/audio/video bytes in and out of every request (or baking them into workflow JSON) is clumsy and doesn't scale across machines. Passing a stable key to a shared bucket does.
It could grow into a more general S3 asset solution over time — but the scope today is deliberately narrow and ComfyUI-centric. If you need a full S3 file manager, this isn't it.
Why keys instead of files?
| Traditional ComfyUI | In-N-Out Bucket |
| --- | --- |
| Assets live in input/ / output/ on one machine | Assets live in a shared bucket any machine can reach |
| Sharing means copying files or embedding them in the workflow | Sharing means passing a short key string |
| Reusing an output as an input means copying it from output/ into input/ | An output's key feeds straight into a load node — no copying between folders |
| Output filenames collide / need counters | Keys are UUIDs — collision-free and content-stable |
| No metadata unless you build it | Every asset carries a sidecar JSON manifest |
Installation
Requires Python ≥ 3.10 (ComfyUI's bundled Python already satisfies this).
-
Clone into your ComfyUI
custom_nodesdirectory:cd ComfyUI/custom_nodes git clone https://github.com/littleowl/ComfyUI_In-N-Out_Bucket.git -
Install the Python requirements (into ComfyUI's environment):
pip install -r ComfyUI_In-N-Out_Bucket/requirements.txtDependencies are just
boto3(S3 client) andpython-dotenv(env loading). Audio/video transcoding uses PyAV, which already ships with ComfyUI. -
Configure your bucket connection — copy
.env.exampleto.envand fill it in:cp ComfyUI_In-N-Out_Bucket/.env.example ComfyUI_In-N-Out_Bucket/.env -
Restart ComfyUI. The nodes appear under the buckets/image, buckets/audio, and buckets/video categories (search for "bucket").
The buckets named in .env are created automatically on first use if they don't exist.
Recommended setup: Tailscale + RustFS
For a private, distributed setup that's genuinely simple to run, the sweet spot is RustFS (a fast, Apache-2.0, S3-compatible object store) reached over Tailscale (a zero-config WireGuard mesh VPN). RustFS is recommended over MinIO here because MinIO has scaled back its open-source community offering; RustFS is a clean, permissively-licensed alternative.
The idea: run one RustFS instance somewhere (a home server, a NAS, a cheap VPS, the same
machine as ComfyUI), join it and all your ComfyUI machines to the same Tailscale network
("tailnet"), and point every machine's .env at the RustFS host's Tailscale address.
No public ports, no copying files.
A minimal how-to:
-
Run RustFS on your storage host (see the RustFS docs for the current command; Docker is the easiest path). Note its API port (commonly
9000) and the access key / secret you set. -
Install Tailscale on the RustFS host and on each ComfyUI machine, then
tailscale upand sign in with the same account. Find the storage host's tailnet IP (or MagicDNS name) withtailscale ip/tailscale status. -
Point each ComfyUI machine's
.envat the RustFS host over Tailscale:S3_ENDPOINT_URL=http://<tailscale-host>:9000 S3_ACCESS_KEY_ID=<your-rustfs-access-key> S3_SECRET_ACCESS_KEY=<your-rustfs-secret> S3_ADDRESSING_STYLE=path S3_IMAGE_BUCKET=image S3_AUDIO_BUCKET=audio S3_VIDEO_BUCKET=video -
Restart ComfyUI on each machine. They now all read/write the same assets by key.
Everything also works against plain AWS S3 — see the credentials section below.
Configuration
All configuration is via environment variables, loaded from .env at the package root.
Process environment variables take precedence over the file, so you can override per-host.
See .env.example for the fully-commented template.
| Variable | Default | Purpose |
| --- | --- | --- |
| S3_ENDPOINT_URL | (blank = AWS) | S3 endpoint. Blank uses real AWS S3. |
| S3_ACCESS_KEY_ID / S3_SECRET_ACCESS_KEY | — | Access keys. Leave blank to use an IAM role / profile. |
| S3_SESSION_TOKEN | — | Optional temporary/STS token (with explicit keys). |
| S3_PROFILE | — | Optional named profile from ~/.aws (takes precedence over keys). |
| S3_REGION | — | Region. Optional for RustFS; recommended for AWS. |
| S3_ADDRESSING_STYLE | auto | auto / virtual / path. RustFS usually wants path. |
| S3_IMAGE_BUCKET | image | Bucket for image assets. |
| S3_AUDIO_BUCKET | audio | Bucket for audio assets. |
| S3_VIDEO_BUCKET | video | Bucket for video assets. |
| S3_ALLOW_KEY_LISTING | true | Allow listing keys to populate the "Load … From Bucket" dropdowns. |
| S3_ENABLE_REST_API | false | Enable the upload/fetch/delete REST API (see below). |
| S3_ENABLE_TEST_PAGE | false | Enable the browser test page for that API. |
Credentials & AWS IAM roles
Credentials are resolved in priority order:
S3_PROFILE— a named profile from~/.aws(its own keys / SSO / role).- Explicit keys —
S3_ACCESS_KEY_ID+S3_SECRET_ACCESS_KEY(+ optionalS3_SESSION_TOKEN). This is the RustFS path. - Default chain — if no keys are set, boto3 resolves credentials itself: IAM roles,
EC2 instance profiles, ECS/EKS task roles, SSO,
AWS_PROFILE,~/.aws. To use an attached IAM role on an EC2/ECS/EKS host, just leave the key/secret blank and setS3_REGION.
The nodes
The nodes live under buckets/image, buckets/audio, and buckets/video. They
pass a manifest value between each other (a plain metadata dict) alongside the media.
Images — buckets/image
| Node | What it does |
| --- | --- |
| Input Image Bucket | Load image(s) by a key typed/wired in. A key spanning a batch returns the whole batch as one tensor; also outputs the alpha mask and manifest. |
| Output Image Bucket | Save image(s) under a generated key (png / jpg / webp) + sidecar manifest. Passes images through and outputs the key + manifest. |
| Load Image From Bucket | Same as Input, but the key is chosen from a dropdown of existing keys (when S3_ALLOW_KEY_LISTING=true). |
| Batch Image Metadata | Unpack a manifest into individual outputs (key, format, width/height, batch size, tags, …). |
| Set Image Metadata | Write description / tags / source onto an asset's manifest (all optional; empty = keep existing). |
Audio — buckets/audio
| Node | What it does |
| --- | --- |
| Input Audio Bucket | Load audio by a key typed/wired in. |
| Output Audio Bucket | Save audio under a generated key (flac / mp3 / opus) + manifest. |
| Load Audio From Bucket | Same as Input, but with a key dropdown. |
| Batch Audio Metadata | Unpack a manifest (sample rate, channels, duration, …). |
| Set Audio Metadata | Annotate an audio asset's manifest. |
Video — buckets/video
| Node | What it does |
| --- | --- |
| Input Video Bucket / Output Video Bucket / Load Video From Bucket | Basic tier using ComfyUI's native VIDEO type (one key → one video file). |
| Output Video Bucket (Advanced) | A superset of the basic output. Accepts a native VIDEO or raw frames (+ optional audio); encodes to a chosen container/codec with CRF control. RGBA frames + vp9-webm → a genuinely transparent video, and audio is muxed in even on the transparent path. |
| Load Video From Bucket (Advanced) | Loads a bucket video as frames / audio / fps with VHS-style controls (skip first frames, frame cap, select every Nth). |
| Batch Video Metadata | Unpack a manifest (fps, frame count, duration, has_audio, …). |
| Set Video Metadata | Annotate a video asset's manifest. |
🪄 Transparent video with audio. The Output Video Bucket (Advanced) node encodes VP9 WebM with a real alpha channel (
yuva420p) and a muxed audio track at the same time — a combination most tools won't do (transparency and audio are usually mutually exclusive). Feed it RGBA frames + audio, pickvp9-webm, and you get a genuinely transparent video that still plays sound.
How assets are stored
A key is the object name itself, optionally under a user subfolder:
<subfolder>/<uuid> ← the key passed between nodes (clean: no index, no extension)
The concrete objects in the bucket are named after the key:
<key>.png                   ← a single image
<key>_0.png  <key>_1.png    ← a batch (one key → many frames)
<key>.json                  ← the sidecar manifest (one per key)
Keys are content-stable UUIDs, so there are no filename collisions and no counters.
Manifests
Each key has exactly one manifest, stored as <key>.json. It records the schema version,
media type, format, batch size, the object keys it spans, and media-specific fields
(dimensions, sample rate, fps, duration, …), plus optional description / tags /
source. If an asset has no stored manifest (e.g. it predates manifests), the load nodes
derive one from the objects and decoded media on the fly (flagged derived: true).
The manifest is the source of truth a database would otherwise provide — so the database becomes an optional, rebuildable index over these files rather than a requirement.
Live previews
Type or pick a key on an Input/Load node and the asset previews immediately, without running the workflow — just like the native LoadImage node. Previews are served by a small HTTP route that downloads the asset from S3 on demand and caches it in ComfyUI's temp dir, and they persist across page refreshes.
Upload from your computer
Every Input/Load node has a “choose file to upload” button, exactly like the native Load nodes. Pick a file and it's uploaded straight into the bucket, the node's key is set to the new asset (added to the dropdown if needed), and it previews right away. So you never have to touch the stock Load nodes — even while building or testing an API workflow, the whole round-trip stays inside these nodes. The upload endpoint is always enabled (it's core); only listing / fetching / deleting are gated (see below).
REST API + test page
The upload button above posts to a small REST API. Uploading (PUT) is always enabled
— it's core to the nodes, mirroring the native Load nodes which always allow uploads. The
rest of the API — listing keys, asset info, raw fetch, and DELETE — is off by
default (it enumerates and destroys assets with no auth beyond ComfyUI's own), as is the
browser test page. Enable them only on a trusted/private host (e.g. behind Tailscale):
S3_ENABLE_REST_API=true
S3_ENABLE_TEST_PAGE=true
Endpoints, per media (image | audio | video), under /in-n-out-bucket/<media>:
| Method | Path | Action | Enabled |
| --- | --- | --- | --- |
| PUT | /in-n-out-bucket/<media> | Upload (multipart file, optional subfolder) → {key, manifest} | always |
| GET | /in-n-out-bucket/<media> | List keys → {keys: [...]} | gated |
| GET | /in-n-out-bucket/<media>?key=<key> | Asset info → {key, objects, manifest} | gated |
| GET | /in-n-out-bucket/<media>?key=<key>&raw=1 | Raw bytes of the asset | gated |
| DELETE | /in-n-out-bucket/<media>?key=<key> | Delete the asset + its manifest | gated |
The test page is at /in-n-out-bucket/ui. Uploaded audio in non-native formats
(wav, m4a) is transcoded to FLAC losslessly; native flac / mp3 / opus pass
through untouched.
Project layout
__init__.py          package entrypoint (registers nodes + HTTP routes)
core/                media-agnostic shared code: the Manifest IO type + manifest builders
nodes/               one module per media: image_bucket / audio_bucket / video_bucket
s3_client/           the S3 client (credential resolution + upload/list/download/delete)
server/              aiohttp routes: preview/keys + the optional REST API
js/                  frontend extensions (live key previews)
web/                 the REST API test page
Scope & roadmap
In scope today: image, audio, and true video (mp4 / webm, including transparent webm).
Deliberately out of scope / future ideas:
- Animated images (gif / animated webp) as a distinct media type.
- VLLM auto-tagging / captioning written into manifests.
- A fuller asset browser / manager UI (the test page is a minimal stand-in).
- Custom (non-UUID) keys.
- Extracting the per-media copies into a shared core (currently copy-first by design).
Contributing
Contributions are welcome — issues, ideas, and pull requests all. If you're filing a bug,
mention your bucket backend (RustFS / AWS / other) and your .env (with secrets redacted).
If you're sending a PR, try to keep the per-media modules parallel in structure, since
they're intentionally near-copies of one another for now.