
ComfyUI Extension
ComfyUI-Whiteboard
A simple ComfyUI node that creates a white canvas for freehand drawing and automatically runs inference for sketch-to-image workflows.
kreonxv/ComfyUI-Whiteboard
Nodes1
On cloudLocal install
Categoryimage/drawing
Stars0
Updated8 months ago
Readme
ComfyUI-Whiteboard
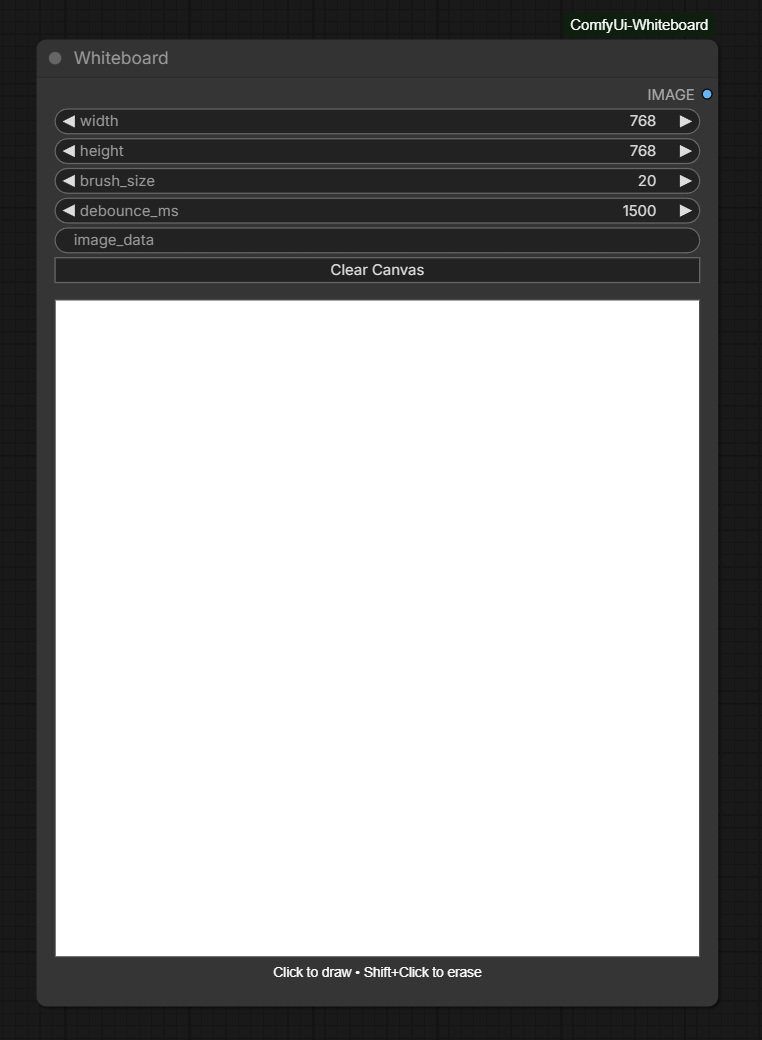
A simple ComfyUI node that creates a white canvas for freehand drawing and automatically runs inference. Designed to be used in both img2img and sketch-to-image workflows (with ControlNet guidance).
Features
- Draw freely on a white canvas with adjustable brush size and color.
- Optional
Auto Runmode: the node automatically triggers inference as you draw. - Works as a control image for ControlNet-compatible nodes (sketch-to-image and img2img workflows).
- Lightweight and easy to integrate into existing ComfyUI flows.
Installation
- Place the
ComfyUi-Whiteboardfolder inside your ComfyUIcustom_nodesdirectory. - Restart ComfyUI.
Basic Usage
- Add the Whiteboard node to your graph.
- Draw on the canvas using the built-in drawing tools.
- Toggle
Auto Runif you want inference to run automatically while drawing.
Using with img2img
- Connect your source image into your usual
Img2Imgpipeline. - Connect the Whiteboard output to a ControlNet node's image input (or to any node that accepts a control image).
- Adjust denoising/strength settings on the Img2Img node to control how strongly your sketch influences the output.
Sketch-to-Image (ControlNet) Workflow
- Place the Whiteboard node and draw the desired sketch.
- Add a ControlNet node and connect the Whiteboard output to the ControlNet's image input.
- Connect ControlNet to your main sampler (txt2img or img2img) and configure weights/conditioning as needed.
Tips
- Use thicker brush strokes for stronger guidance in ControlNet.
- Try
Auto Runoff when making broad changes to avoid many automatic inferences. - Combine the Whiteboard output with other control images (depth, canny, etc.) for richer effects.