
UploadToPushOver
ComfyUI custom node Pushover Notification
Nodes (1)
ComfyUI_UploadToWebHookPushover <br>
Thanks to Jerryswap UploadToWebhook customnode which I could use as base code for the pushover node.

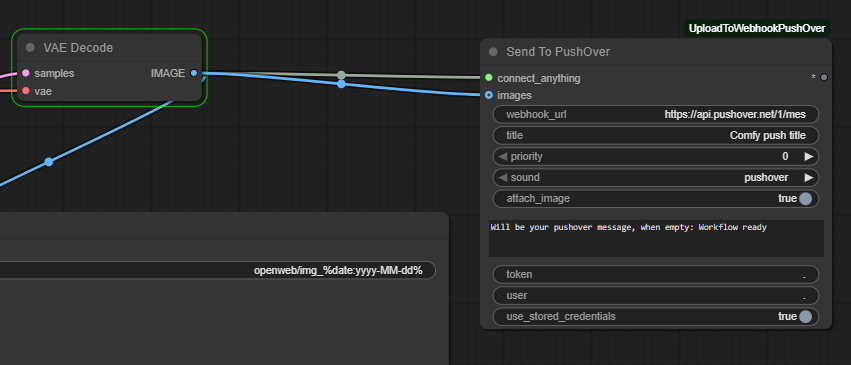
A custom node for ComfyUI that allows you to send generated image(s) directly to Pushover, you can also choose only to get a notifycation. Videos aren't supported.
✨ Features
- 🔗 Upload a single image (from image sequence) with your pushover notification (optional)
- 📦 Includes additional message text (prompt for example)
🔧 Installation (for updating from v1.0.x to v1.2.x read the update.md file.)
- Clone or download this repo into your
ComfyUI/custom_nodesdirectory:
cd /workspace/ComfyUI/custom_nodes
git clone https://github.com/MijnSpam/ComfyUI_UploadToWebhookPushOver.git
- Install dependencies:
cd ComfyUI_UploadToWebhookPushOver
bash install.sh
This part can fail with pip env but just check if it runs without doing the packages install.
- Restart ComfyUI (or use the Reload Custom Nodes button if available).
- Refesh browser.
🧩 How to Use
In Pushover.net create an application token and paste this into your Token field. Optional, edit default value in init.py Optional: Create a delivery group if you want to be flexible in notifying devices. (then you only need to edit in pushover instead of changing userkeys) In User field, enter specific device key or add group key.
In ComfyUI:
- Drag any output (e.g., from
VAE Decode) to the Send To Pushover node >> connect_anything - Configure:
connect_anything: connect any output (mandatory to work)webhook_url: default is correct.token: the pushover app token (or use stored credentials option, see step 3)user: Your user OR group key.image: if you want an image in your pushover, connect this node and switch on attach_image
- Optional (since version 1.2) create an .env in the same folder as this custom-node, see example folder but rename to '.env' in the node select, 'use stored credentials', any credentials in the node fields will be ignored even when you enter them!
🖼️ UI Example
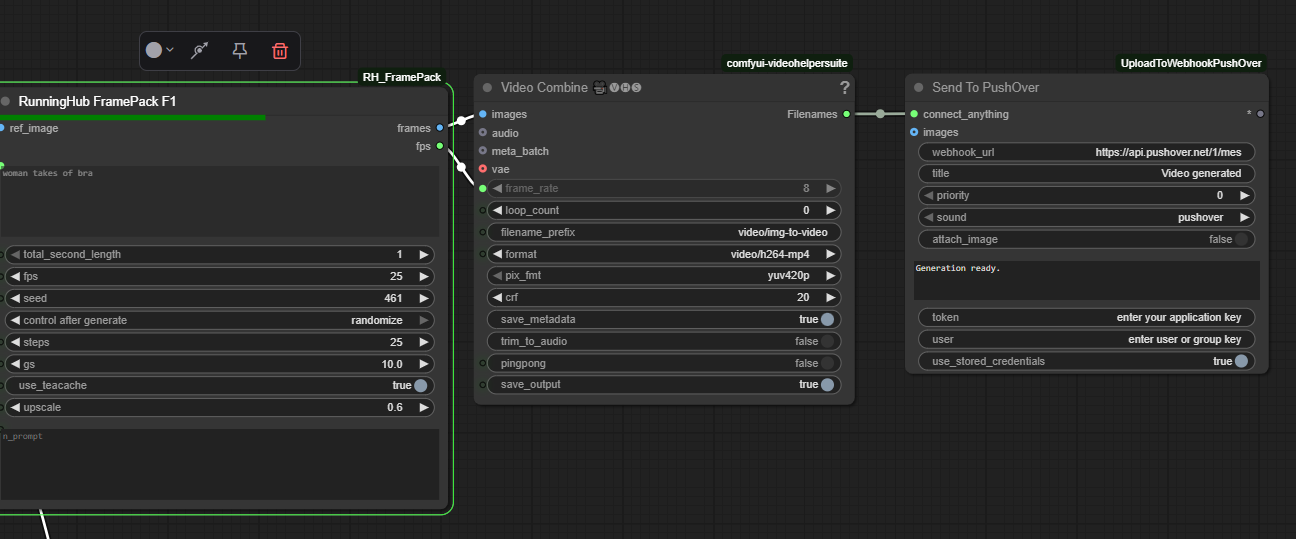
📁 Folder Structure
ComfyUI_UploadToWebHookPushOver/
├── __init__.py
├── requirements.txt
└── install.sh
└── pyproject.toml
└── .env (optional file see how to use step 3)
🧑💻 Contributing
Pull requests and feature ideas are welcome!
Feel free to fork and create a PR.
📄 License
This project is licensed under the MIT License.
See LICENSE for details.
Other custom nodes (search for "KB comfy" in manager)
- Swap and Scale
Changelog
1.2.2 Trying to fix custom-node update issue.