
H3 GuideMaster
A MiniMax H3 guide, local filmstrip, and endpoint-anchor timeline for ComfyUI.
H3 GuideMaster
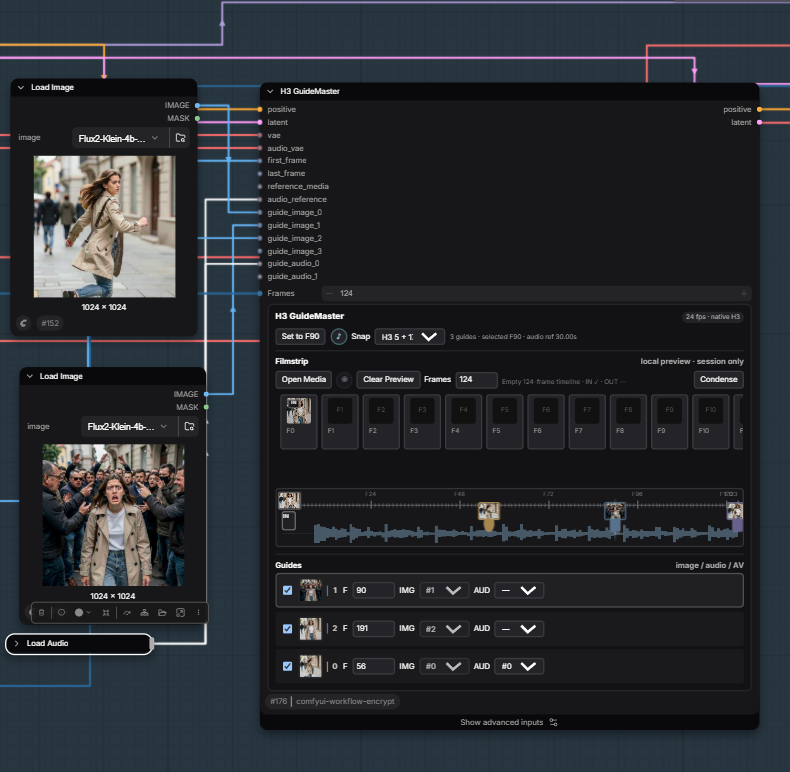
H3 GuideMaster makes it easy to place images and audio on a MiniMax H3 timeline.
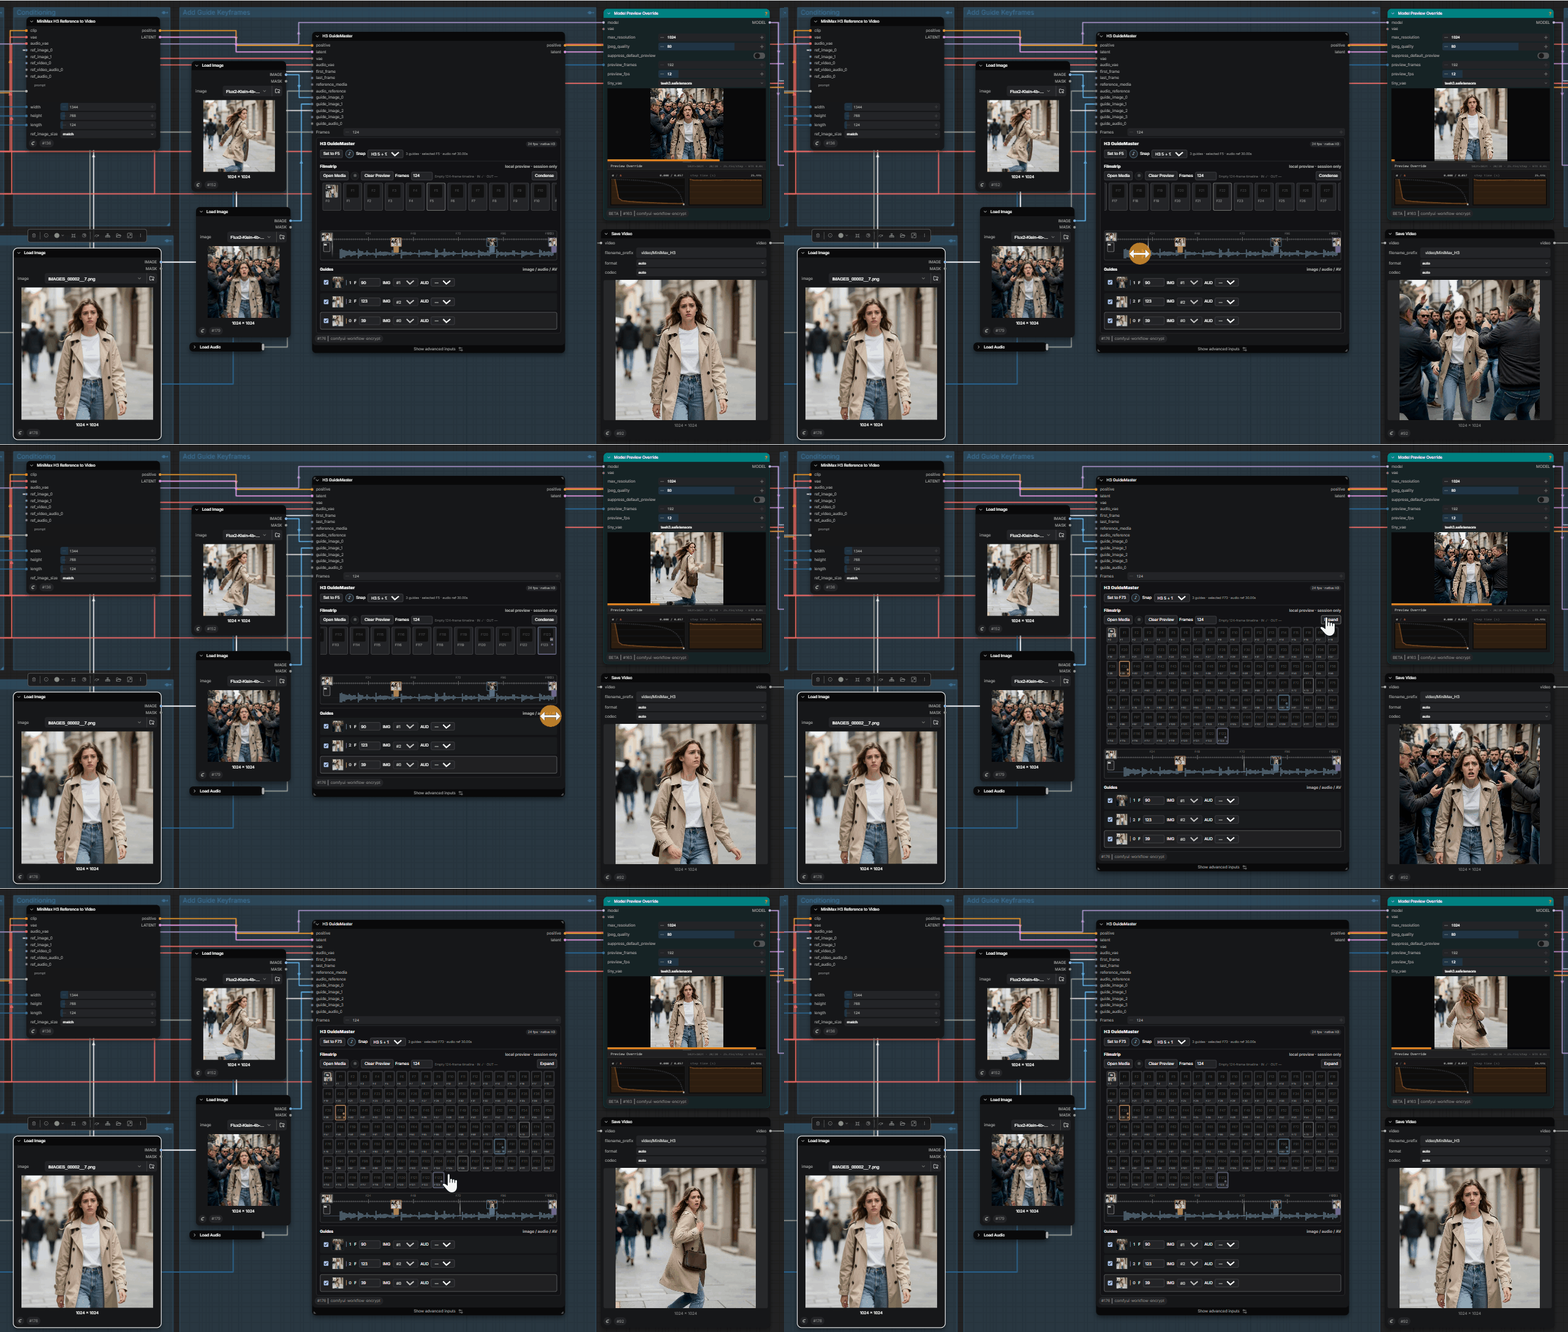
Demo
Installation
- Copy the
ComfyUI-Majoor-H3-GuideMasterfolder intoComfyUI/custom_nodes/. - Restart ComfyUI.
- Add the node from
Majoor / MiniMax H3.
Quick start
Place the node between your MiniMax H3 workflow and the H3 guider/sampler:
MiniMax H3 workflow → H3 GuideMaster → H3 Guider / Sampler
Connect the following inputs when needed:
vaefor images;audio_vaefor audio;guide_image_0,guide_image_1, etc. for images;guide_audio_0,guide_audio_1, etc. for audio;first_frameandlast_framefor a starting or ending image.
Connect the positive and latent outputs to the rest of your H3 workflow.
The timeline
The node panel displays the timeline and all placed guides.
- Click a frame to move the current position.
- Double-click a frame to place the selected guide.
- Drag a marker to move a guide.
- Use
Set to F...to place the selected guide on the current frame. - Use
Condenseto make long timelines easier to view.
Frames
Frames sets the timeline length when no reference media is loaded.
You can either:
- enter the number of frames directly;
- connect an
INTcontrol containing a frame count; - connect a
FLOATcontrol containing a duration in seconds.
An INT is used as an exact frame count. A FLOAT is converted at 24 fps and aligned to native H3 timing. For example, 10.0 seconds becomes 243 frames.
H3 snapping
The H3 5 + 17f mode is enabled by default. Guides are placed on the MiniMax H3 frame grid:
5, 22, 39, 56, 73, ...
You can disable this grid with 1 frame, or choose a step of 6, 12, or 24 frames.
When a new guide is connected, it is placed on the first available H3 position: F5, then F22, then F39, and so on.
Adding images
Connect an image to guide_image_0, then use the additional guide image inputs that appear.
An image and an audio source with the same slot number are combined into one audio/video guide.
You can also connect:
- an image to
first_framefor the starting image; - an image to
last_framefor the ending image.
Adding audio
Connect audio to guide_audio_0, then use the additional audio guide inputs that appear.
Each audio guide starts at its assigned frame and is automatically limited to the remaining timeline duration.
Previewing media
Drop a video or an image sequence into the Filmstrip, or click Open Media.
You can also connect a video loader or an image sequence to reference_media. The node will use it to display the timeline.
Reference media is only used to help place guides. It is not sent into the workflow a second time.
Previewing audio
Connect an audio source to audio_reference to display its waveform below the timeline.
This input is only a visual reference. Audio used for generation must be connected to guide_audio_N.
Troubleshooting
- Make sure the node is part of a MiniMax H3 workflow.
- Connect
vaewhen using image guides. - Connect
audio_vaewhen using audio guides. - If the timeline stays at
124, check that theINTorFLOATcontrol is connected toFrames. - If a guide does not appear, check the connected
guide_image_Norguide_audio_Nslot. - Restart ComfyUI after updating the node.
License
GPL-3.0-or-later. See LICENSE.